The final product (above)
Here's the step by step, minus a cut finger.
Before pictures show the significant damage:


The Sandpaper had a cloth texture to it which made it easier to use and less chance of making a mistake. We gently sandpaper'ed the entire piece after which we used the tack cloth to pick up the remainder of the dust.
Here my Mom's showing how we rubbed re-finisher into the wood with steel wool. It was clear we had to remove all the finish, rather than refinish and re-amalgam the old finish. You want to be gentle doing this so as to keep an even surface for staining and final finishing.

Here you can see what the wood looked like once it was stripped. It also made the damage show even worse, which worried me initially.

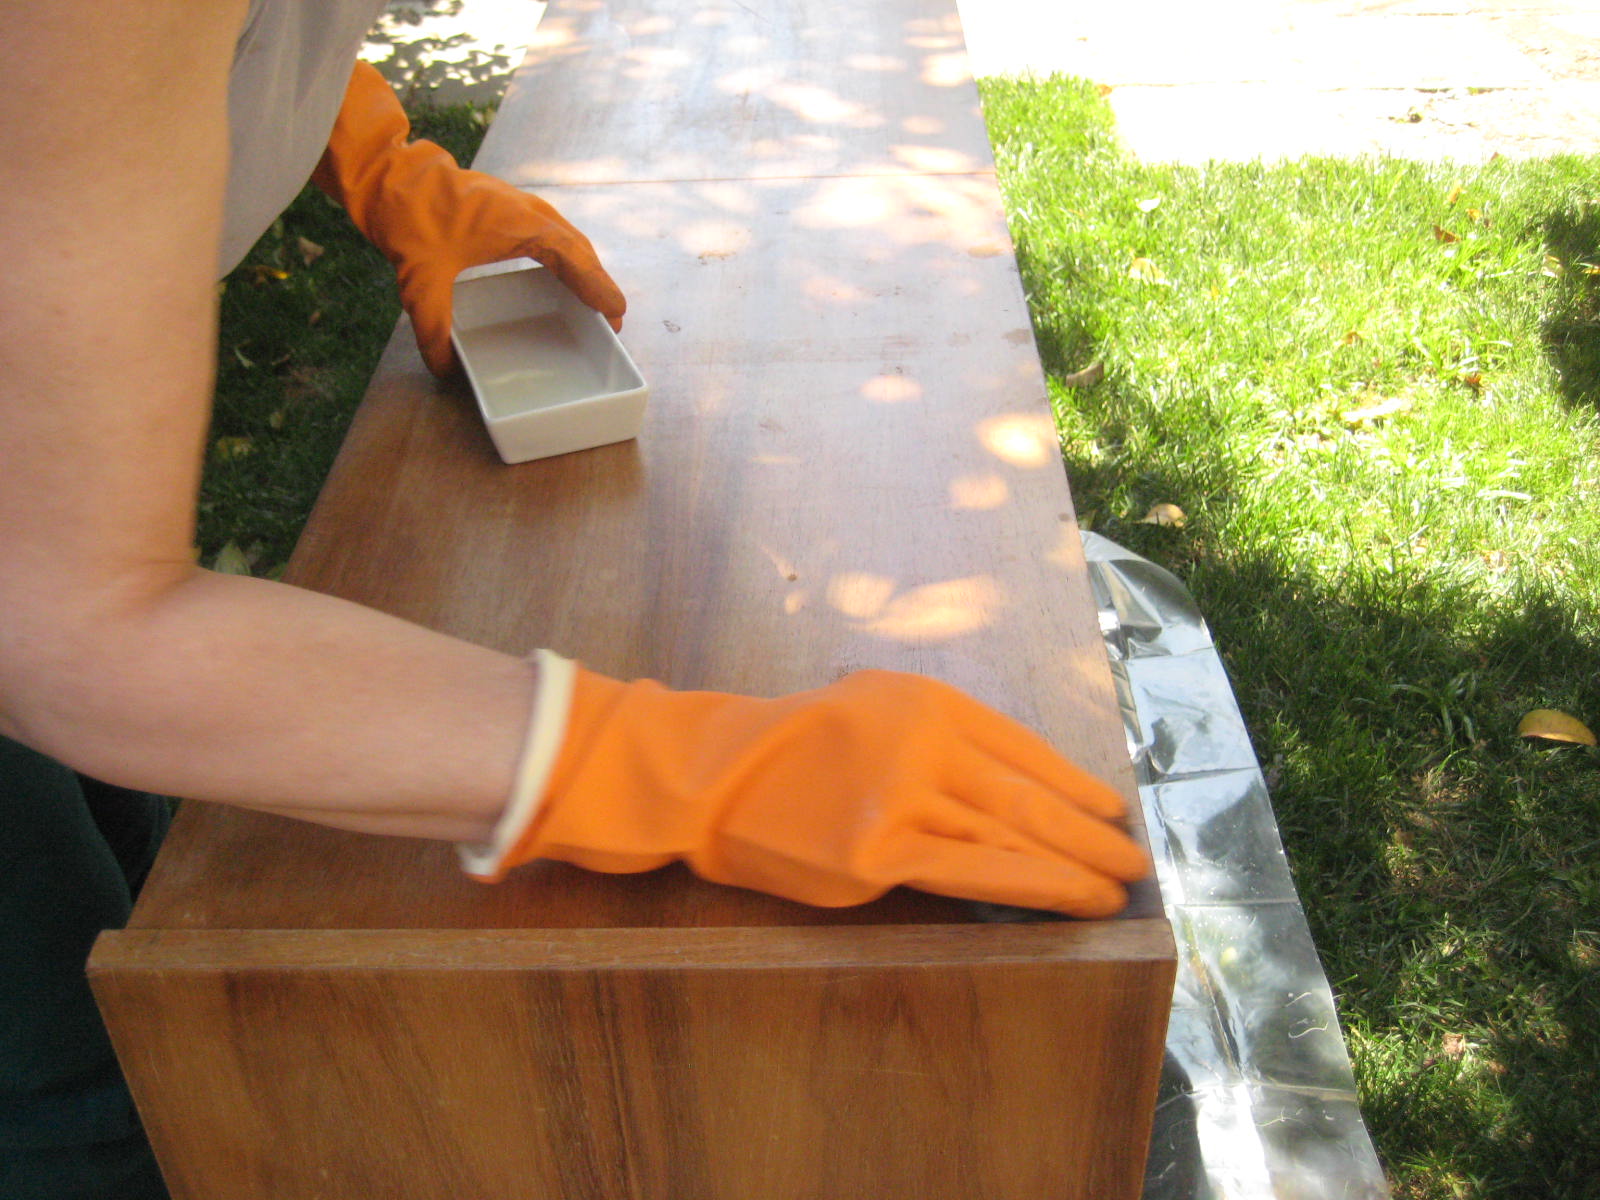
There's limited shade in my backyard but you need to try to refinish in the shade. The chemicals dry up very fast once you pour them into your shallow container, also you can damage your furniture piece if you have parts that dry too quickly. We used rags to rub in the refinishing product in the same direction of the grain. This part was labor intensive as we had to go over the piece several times.

Before staining

After staining
The dark color and natural sheen came through after two layers of stain. I let it dry in my side room for a week and a half. The first three days inside I rubbed tung oil with a soft cloth on it which gave it an even more beautiful sheen.
 .
. Here are a few close ups:


.JPG)
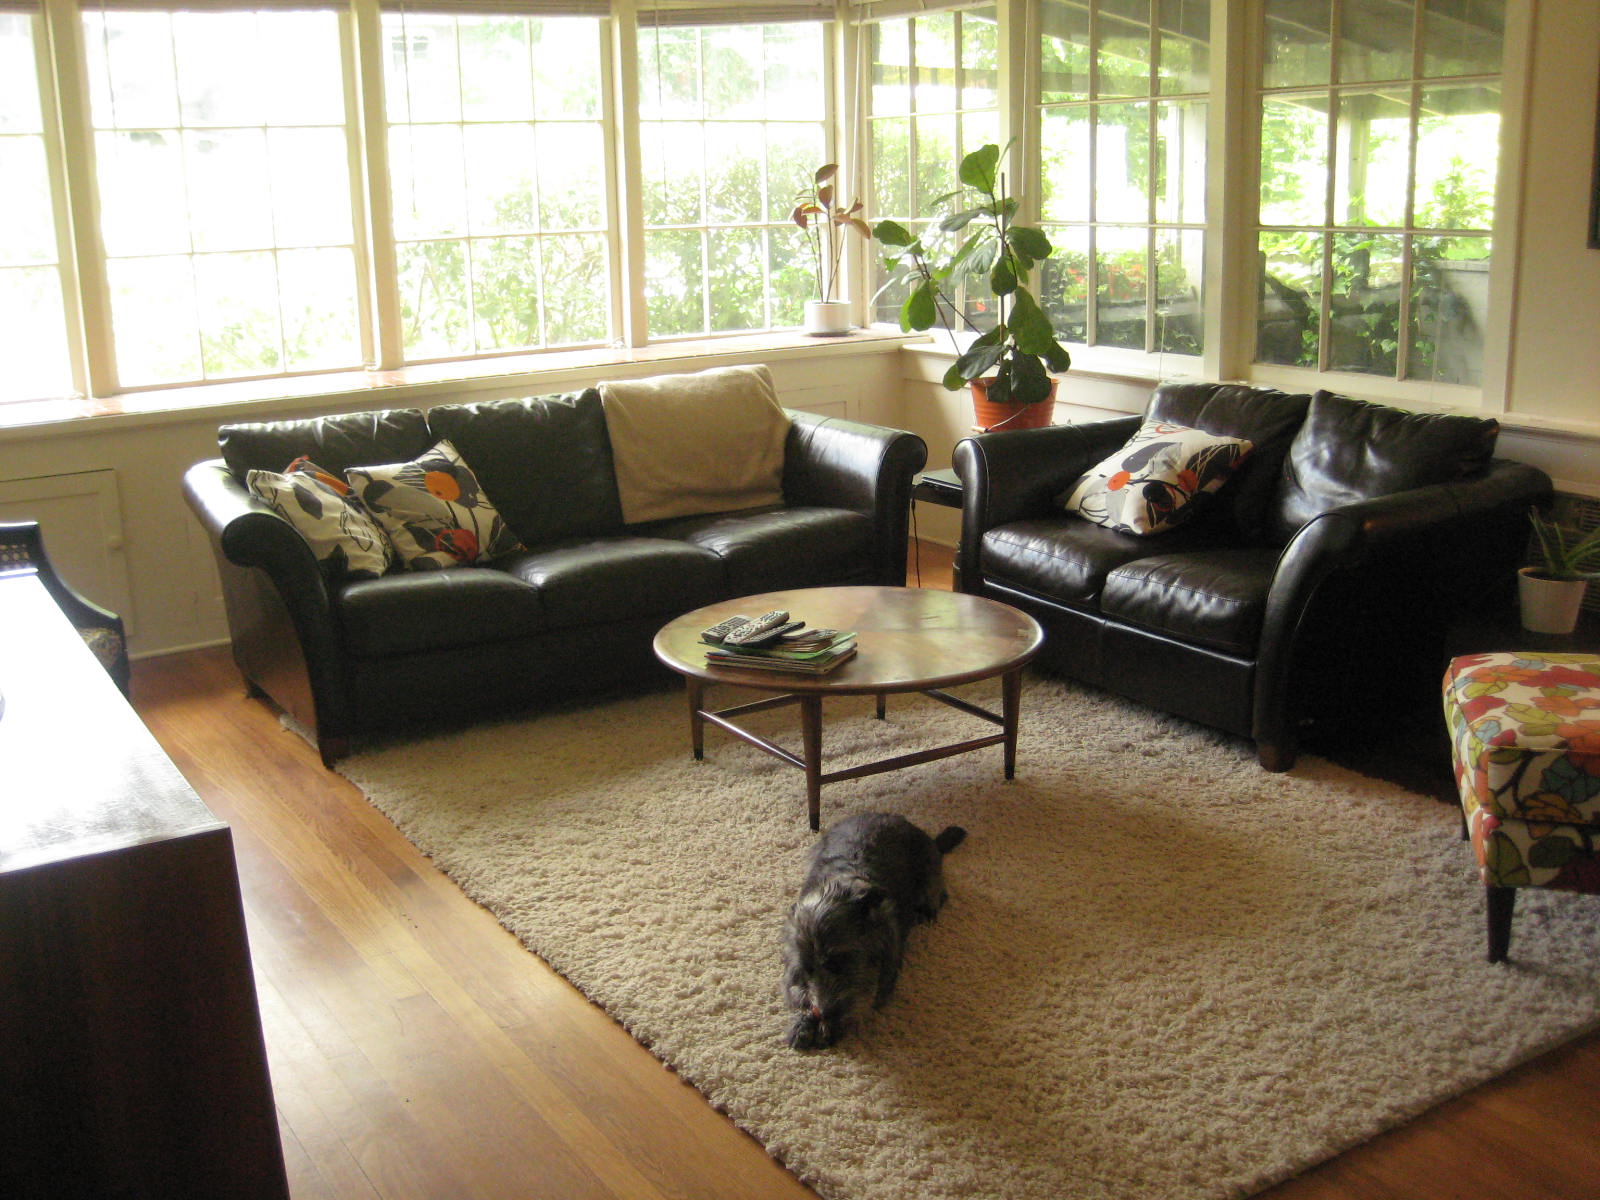
Below are a few other pictures that show my new chair on loan (thanks Sarah!) and my living room coming together. Oh yes, that's my pup Benji on the sofa and on the carpet in the pics.


My *L* for Love letter, guitar from Dad, Angie Wyant print and photo booth picture collection on top of my buffet cabinet that holds my Grandma's china from the 1950's.
**The End**
(next project, wallpaper this wall behind the buffet cabinet...)